Microsoft Windows 10 comes with a lot of features that are loved by users from all around the world and one of those features is “toasts” which shows you notifications from different applications that are installed on your PC. It appears on the bottom right corner of your screen and while there are people who find it useful it gets annoying after some period of time especially when you are in the middle of some work on your Windows 10 system.
Earlier disabling notifications required you to make some tweaks in the registry editor however with the latest updates it can be done directly from the Settings App. However, many people are still not aware of how to do that and hence in this guide, we are going to show you How to disable Notification pop-ups in Windows 10. Without waiting further, let’s get started.

How to disable Notification pop-ups in Windows 10
Step 1: Open the Settings App on your computer. You can do this by bringing up the Start Menu and clicking the Gear icon on the left or alternatively you can also press Windows Key + I on your keyboard to bring up the Settings.
Step 2: Once you are in the Settings App click on the “System” option.

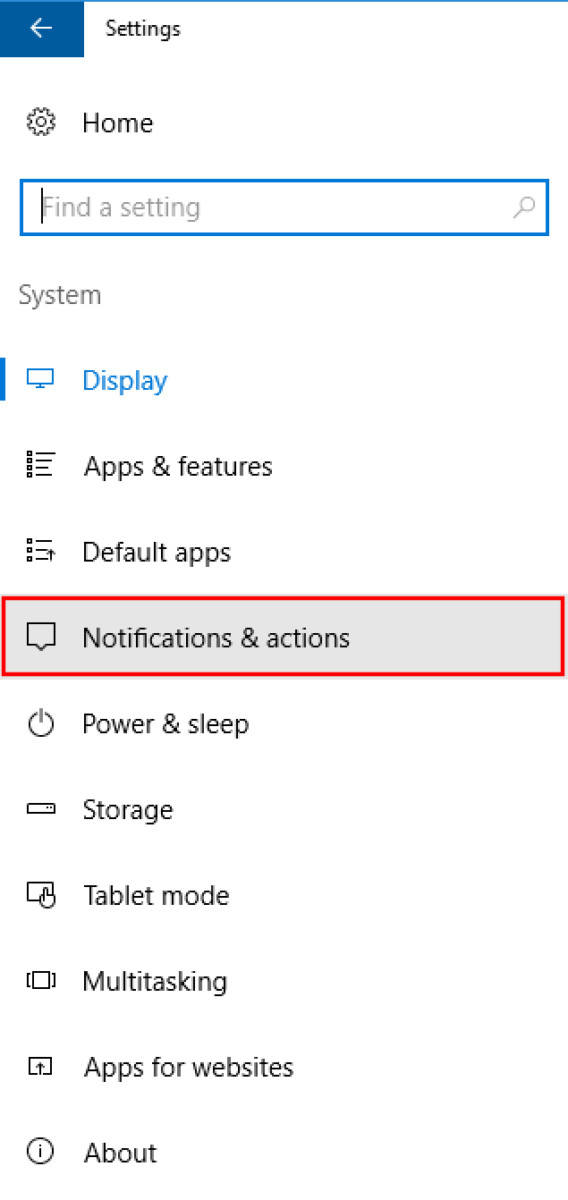
Step 3: From the left side panel in the System settings search for “Notifications & Actions.” Click on it to continue with the process.
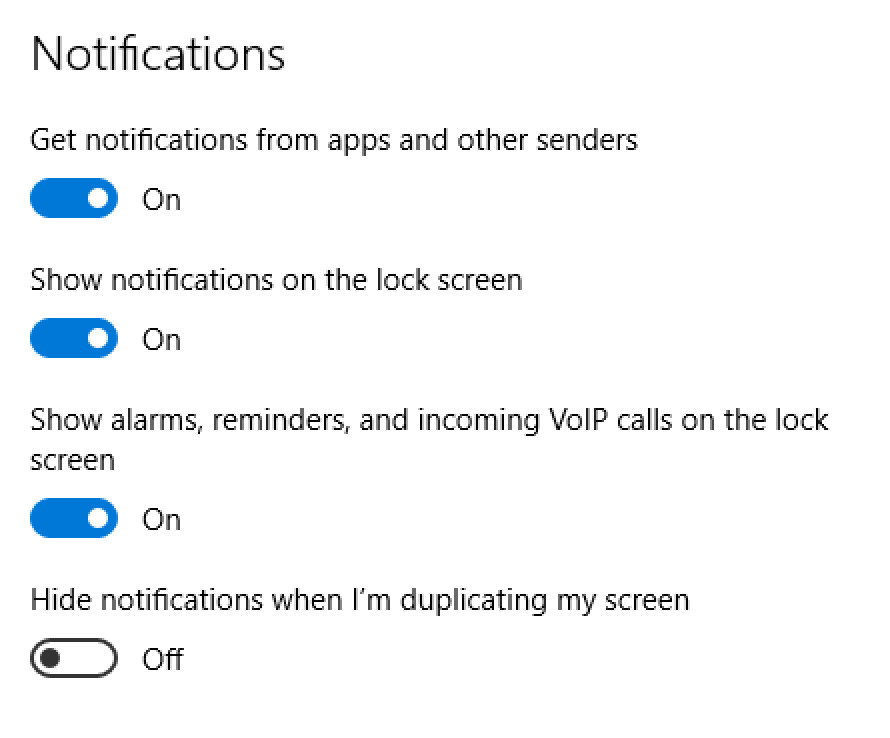
Step 4: Once you are in the Notifications and Actions section a lot of options will appear on the right. From there, disable the option that reads “Get notifications from apps & other senders.” This will completely disable app notifications for your Windows 10 system.
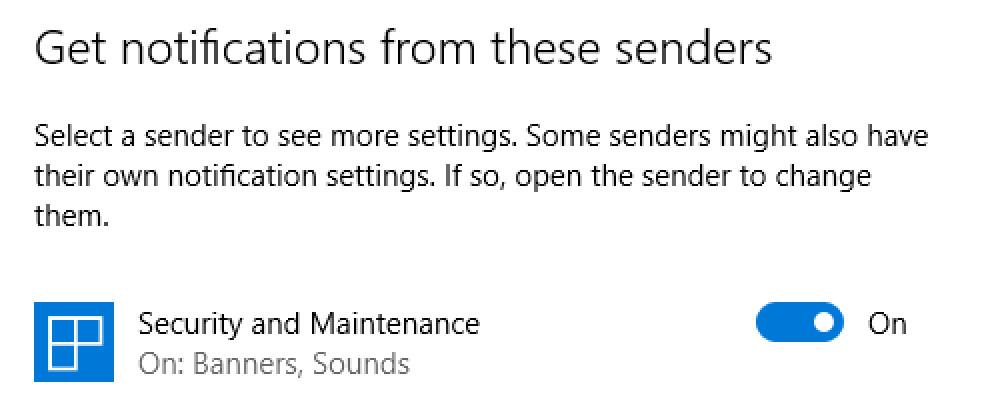
If you don’t like the idea of disabling notifications from all the Apps you can also disable individual app notifications by disabling that particular app or software under the “Get notifications from these senders” section.
That’s all! Once you’ve done this the notifications won’t appear on your screen however you’ll still be able to access them from the Windows Action Center. If you liked this guide, then don’t forget to share it using the social media buttons.
